Embroidery scissors are an essential tool for every needlework enthusiast. To achieve precise cuts and professional results in your stitching projects, it's crucial to know how to use embroidery scissors properly.
In this step-by-step guide, we will walk you through the techniques and methods of using embroidery scissors like a pro. From holding them correctly to executing clean cuts, follow these instructions to enhance your stitching experience and elevate the quality of your needlework.
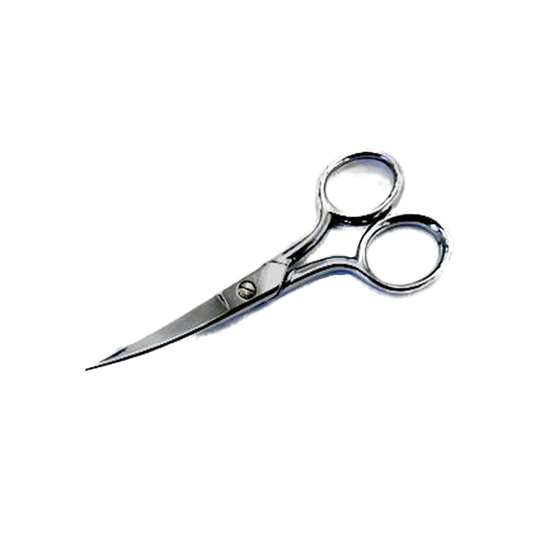
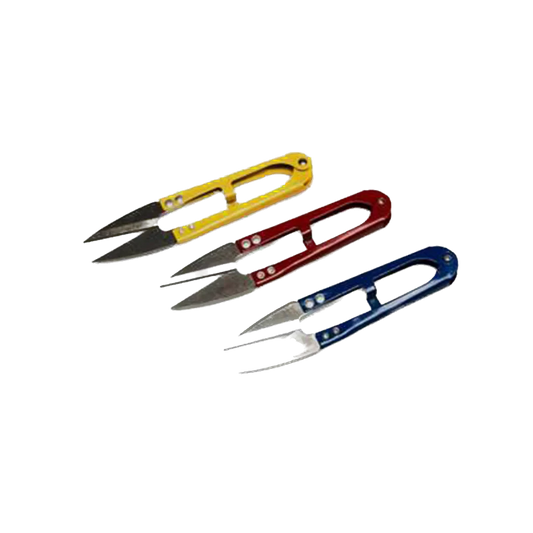
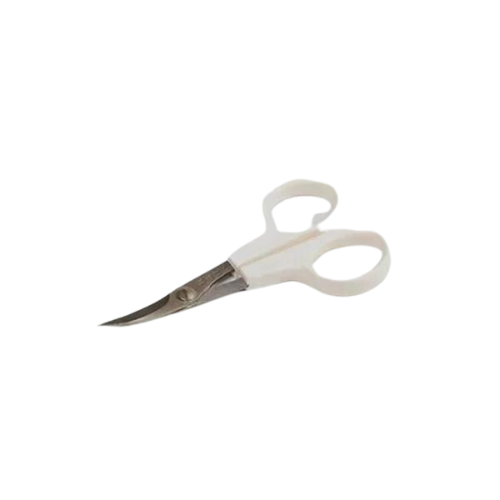
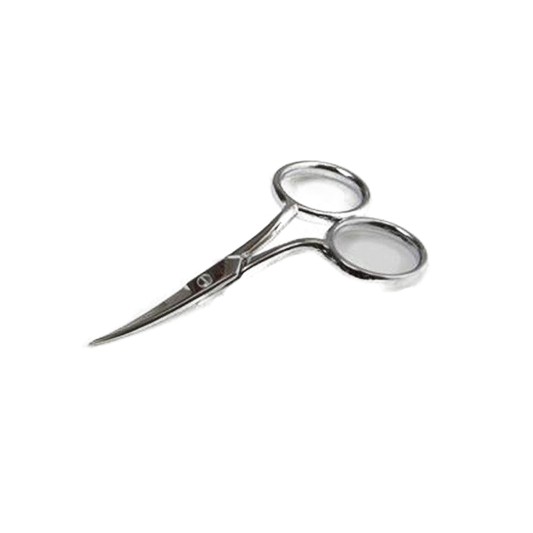
Step 1: Choose the Right Embroidery Scissors
Start by selecting the appropriate embroidery scissors for your project. Consider the size, blade type, and handle design that suits your needs. Different scissors offer unique features, such as sharp pointed tips for precision cutting or curved blades for easy access to tight spaces. Choose a pair that feels comfortable in your hand and complements the type of needlework you are working on.
Step 2: Hold the Scissors Correctly
Hold the embroidery scissors in a relaxed and comfortable grip. Place your thumb and middle finger in the handle loops, allowing your index finger to rest on the outside of the handles for added control. Find a grip that feels natural and secure, ensuring you have full control over the scissors' movements.
Step 3: Positioning the Scissors
When using embroidery scissors, position them perpendicular to the fabric or thread you intend to cut. This allows for precise cutting without damaging surrounding stitches or fabric. Angle the scissors slightly to follow the desired cutting line, whether it's a thread, fabric edge, or intricate design element.
Step 4: Execute Clean Cuts
With the scissors positioned correctly, apply gentle pressure to the blades, ensuring a firm but controlled grip. Start cutting by smoothly closing the blades together, allowing the sharp edges to make contact and cleanly slice through the material. Avoid using excessive force, as it may cause jagged cuts or damage the fabric. Instead, let the sharpness of the scissors do the work for you.
Step 5: Trim Excess Thread or Fabric
Embroidery scissors are perfect for trimming excess thread tails or fabric. Use the fine tips of the scissors to get close to the stitches without cutting them. For precise thread trimming, position the tips of the scissors close to the fabric and carefully snip the thread. When trimming fabric, follow the desired edge or shape and execute clean, even cuts.
Step 6: Practice Control and Accuracy
As with any skill, practice is key to mastering the use of embroidery scissors. Take the time to practice cutting on scrap fabric or threads to refine your control and accuracy. Experiment with different cutting techniques, such as curved cuts or intricate shapes, to expand your skills and achieve various effects in your needlework projects.
Conclusion
By following this step-by-step guide, you can learn how to use embroidery scissors properly and achieve clean, precise cuts in your needlework projects. Remember to choose the right scissors for your needs, hold them correctly, position them perpendicular to the material, and execute clean cuts with control and accuracy.
With practice, you'll develop the skills necessary to handle embroidery scissors like a pro and elevate the quality of your stitching. Visit our online store to explore our wide range of high-quality embroidery scissors, designed to enhance your stitching experience and help you achieve professional results in your needlework projects.